


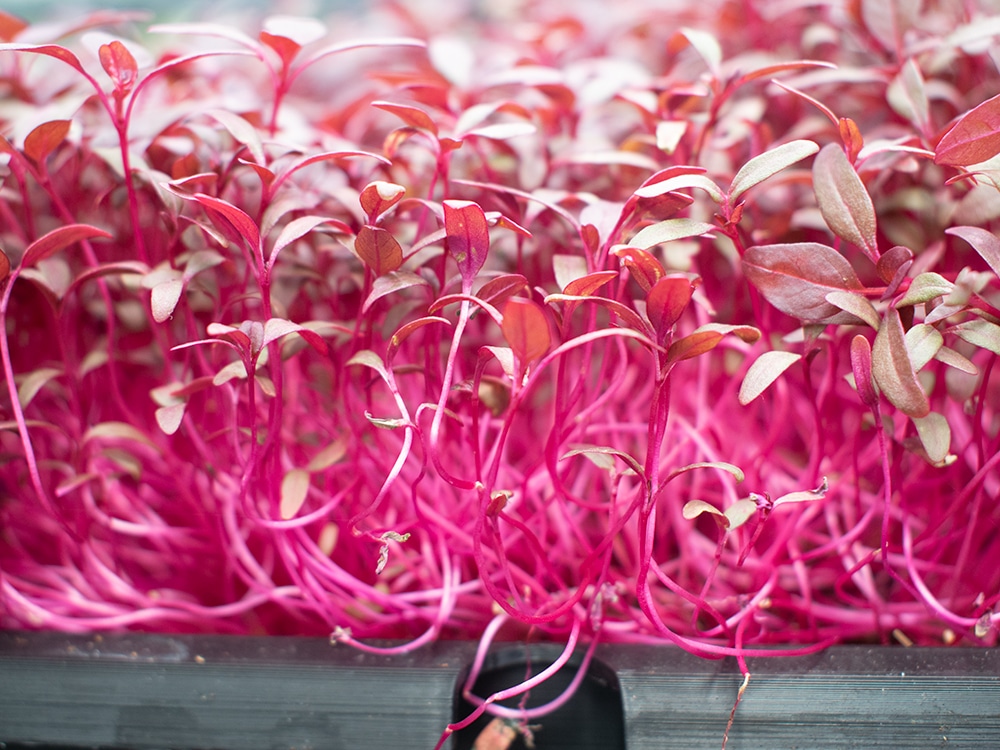
If you’re in the mood to be wooed by food all over again you’ve simply got to give micro herbs a try. As a unique, flavour-enhancing ingredient these seedlings of edible plants are hard to beat. They’re easy to grow, ready in no time, and pack one heck of punch. Verily they offer a quick-to-pick-kick-that’ll-make-your-lips-lick.
Growing sufficient quantities of micro herbs to occasionally serve your household needs is a straightforward affair. Seeds, a hobby level tray, a suitable grow media and a sunny-when-needed spot is pretty much all that is required.
But even the mildly curious or ambitious gardener wants to explore beyond this. Consistent results, bigger harvests, greater variety, and that old chestnut ‘experimentation’ are all excellent excuses for further tinkering.
Growing with the help of a watering system is one way in which serious and seriously curious gardeners can take micro herb cultivation to the next level. Watering systems allow you to irrigate and feed responsively and automatically with intriguing and impressive results.
Here we take a look at the steps involved using our Tray2Grow System – the ideal, power-free, automated platform for these tiny, tasty, tidbits.

Prepare Your Kit
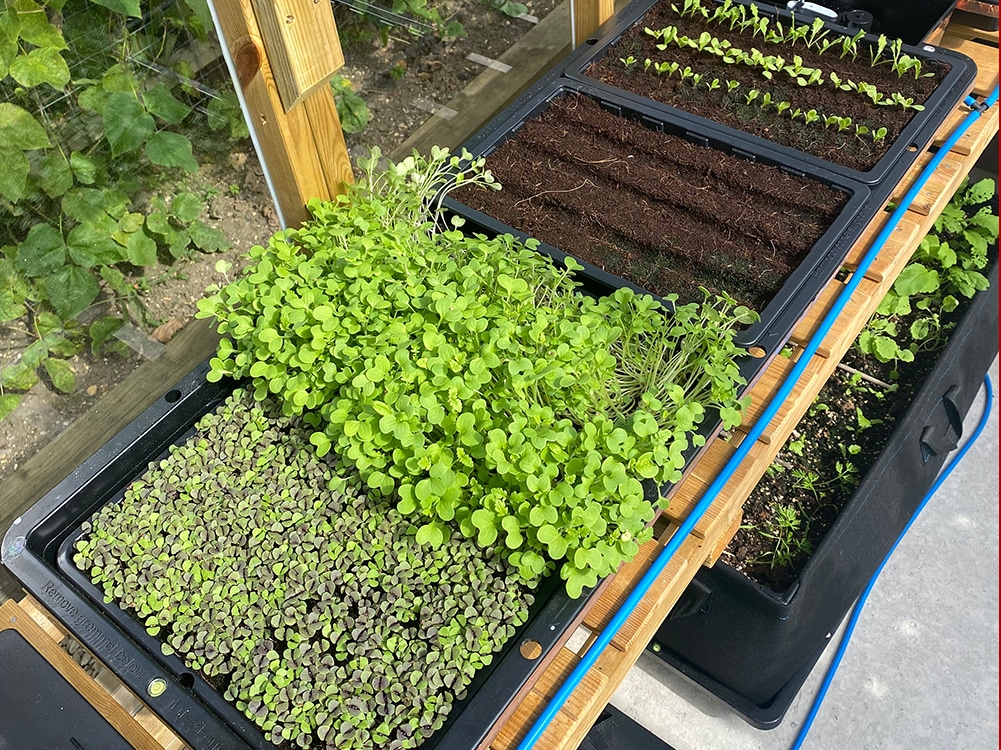
Set up your Tray2Grow in ‘capillarity matting configuration’ and select your micro herb trays. We now offer two types of tray for the herbs – large and small. Growing to crop? Large tray. Growing to order? Small trays.
You can get two of the larger trays on the Tray2Grow system or up to eight or the smaller versions. Both large and small versions feature specially designed perforations that allow just the right amount of water to be absorbed from the system they sit in.

Prepare Your Seeds
If you’re using larger seeds such as peas consider pre-soaking them. This is not necessary with smaller seeds.
Choose Your Grow Media
A wide variety of grow media types can be used to cultivate micro herbs. However, our greatest successes have probably come with good quality coco coir.
Nicely aerated, brilliant at wicking, and offering a home for healthy bioactivity, coir has produced really impressive, consistent harvests when used as bed for our seeds.
Alternatively we’ve used materials as simple as paper towel in Micro Herb Trays. It’s a great example of an inexpensive, easily disposable, and (if unbleached) eco-friendly improvised media.
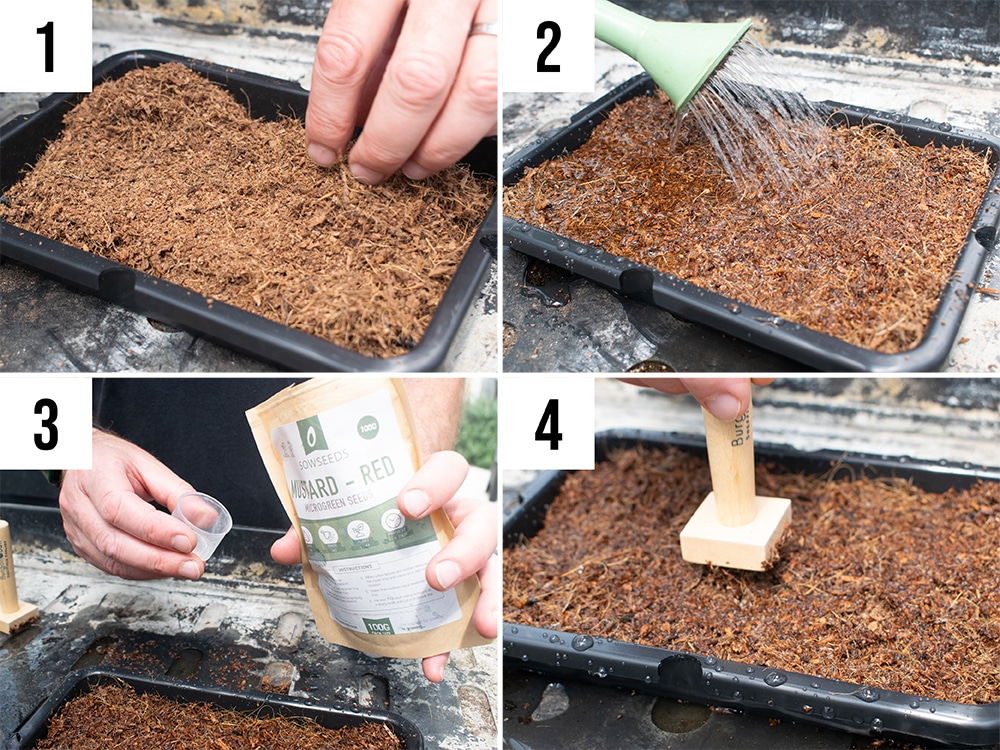
Oh My Days, Sow Your Trays!
Fill your trays with your grow media of choice, dampen the media, and sow your seeds. Larger seeds should be inserted but tiny seeds can happily sit on top of the surface of the media.
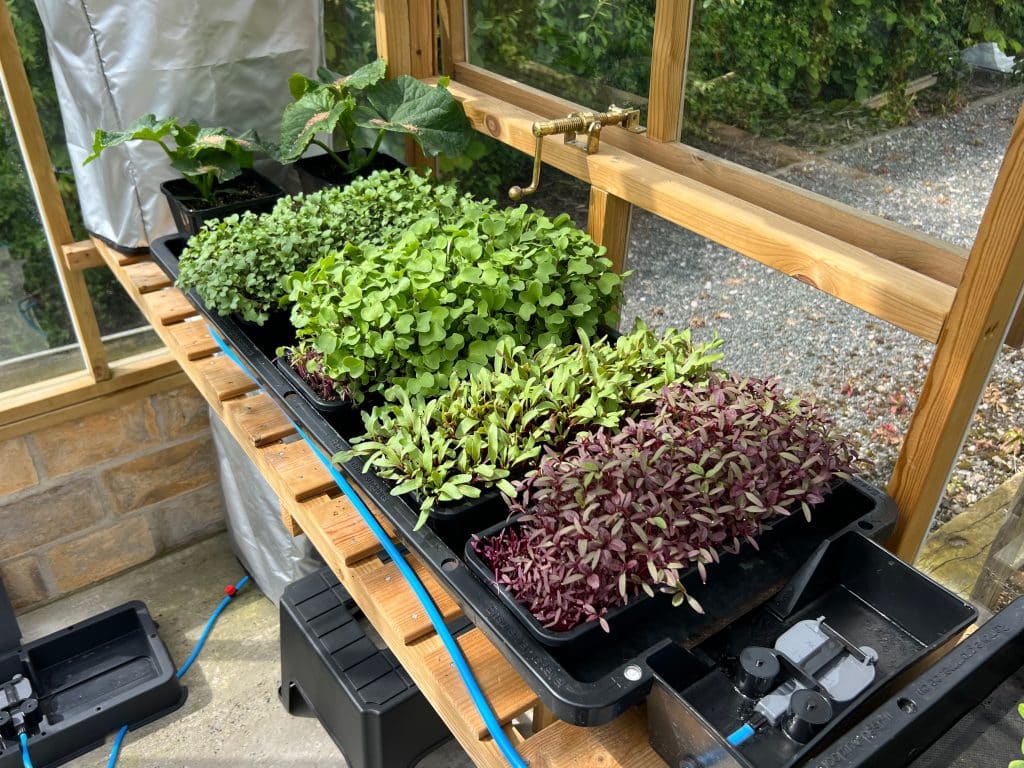
In The System
Simply sit your trays atop the root control sheet on your Tray2Grow. The capillary matting beneath will wick moisture up to the holes in the bottom of the micro herb tray. From there your grow media will absorb the moisture and carry it on to the plant.
Because the system is 100% controlled by plant consumption your micro herbs will never be over- or under- watered.
We recommend supplying a weak nutrient solution via your reservoir and pipework to the system. Thanks to the AQUAvalve5 water control device in the Tray2Grow System, both mineral and organic fertilisers are viable options.
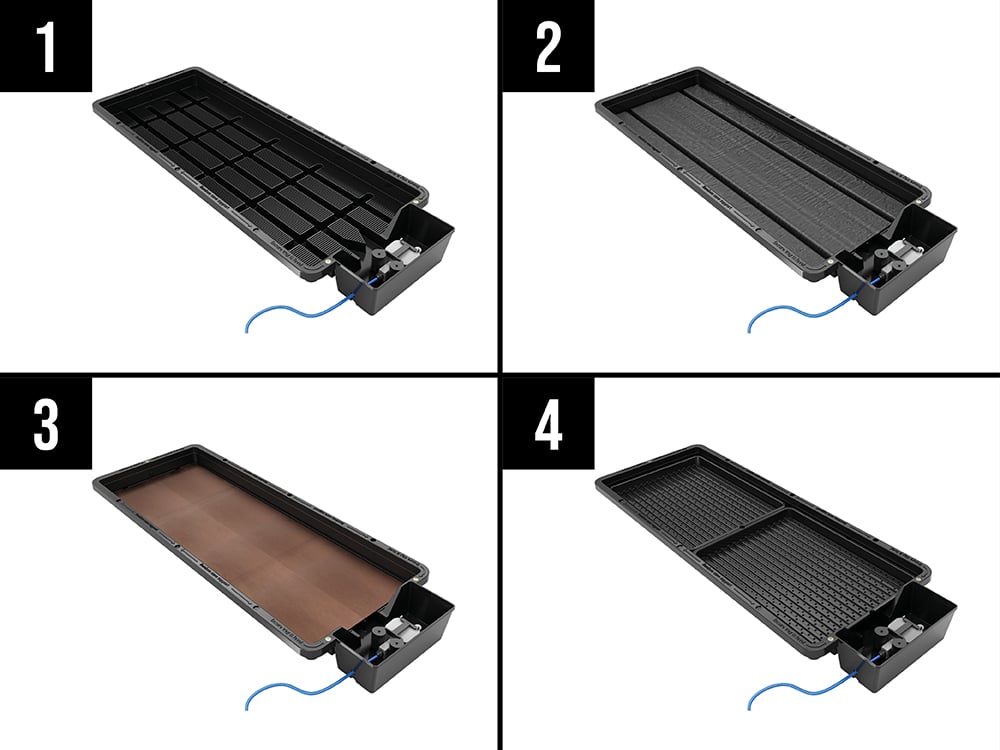
3. Root control in place – 4. Micro herb trays added
Hello Darkness
Keep the seeds dark until germinated. We offer Micro Herb Training Trays which can act as blackouts for the seeds. Only once the seeds have germinated should you expose them to light.
Training Days
As their name suggests, Micro Herb Training Trays can also be used as a means of strengthening your plants. In this instance the Training Tray sits on top of germinated micro herb seeds and forces them to work harder to develop.
As the seeds push up they lift the tray, effectively weight-training the stems. Once developed you can remove the Training Tray and allow the plants to green up.

Harvest Time
Readiness for harvest is generally judged by plant height, leaf growth, and flavour. Once micro herbs are 5-10cm high with a couple of true leaves the they should be sufficiently developed for eating. If in doubt a quick taste test should decide matters.
The herbs can be snipped away with scissors but it is worth remembering that this may expose the roots of other herbs nearby to lighting (if used) and deprive adjacent stalks of support. It’s not necessary to harvest all at once, bear in mind that a little goes a very long way and that these little delicacies will store for many days in the refrigerator within a simple plastic air tight container.
Would You Like Some Veg With Those Herbs?
The joy of Tray2Grow is you’re not limited to one way of growing. Because you can easily adjust the same system for planters, pots, grow bags, seed trays, or micro herbs, literally nothing is off the table. It’s an all-in-one kitchen garden.
As we’ve mentioned before, Tray2Grow is also power-free and requires no running water, so you can set up and leave it to run unattended for long periods, worry-free.
Feel inspired? Get kitted out now! We’ve everything you need to set up Tray2Grow for micro herbs and much, much more at autopot.co.uk. Feel inspiring? Show us your achievements with Tray2Grow using #GrowWithAutoPot on insta.