


Perhaps your plants are finishing. Or perhaps you’re coming to the end of your growing season for the year. What would be a fun thing to do at this point?
We’ll wager that cleaning down your system isn’t topping your thrill list. But it does need doing. Our systems may be automatic, but they’re not going to clean themselves. What they ARE going to do, if treated to a simple spritz, is perform wonders for you again next time around.
More reasons to refresh. In all likelihood your system will have just done you a solid, so it deserves it! Cleaning now will also save you having to scrub 10x as hard at the start of next season and/or replace parts that degrade if left dirty. More holistically, can you really enjoy the fruits of your labours knowing a clean down is hanging over you? Be honest.
The good news is that the task at hand is a very simple one indeed. With no power, pumps, computers, jets, chemicals, or fiddly nipples (ooh-err-missus!) to navigate, an AutoPot Watering System is pretty much the easiest cultivation setup to dismantle and service. Let’s get cracking.
Reservoirs – Disconnection
In order to clean your reservoir you’re going to need to disconnect it from the system. There may still be water in the system pipework. That water needs dealing with before you can attend to the reservoir itself – unless you want water all over your floor.
Start by switching off your reservoir tap. If your plants are already out of the system drain any water in the pipework by opening the ‘Flush Tap’ (it’s on the loose end of your pipe run). If you don’t have a Flush Tap you’ll have to drain the pipework by disconnecting the pipe that runs off your reservoir tap. Either way, have a jug or container to-hand in order to catch the run-off.
If your plants are still in the system you can reduce the amount of water in the pipework by switching off the reservoir tap and allowing them to drink until the trays that sit beneath the pots are dry. At this point remove any residual water via the Flush Line or by disconnecting the pipe that runs off your reservoir tap.
Once your reservoir is disconnected you can bale out any remaining water from inside it using a jug. Or else open the reservoir tap (with the pipe attached to it safely placed in a container.)
Whatever you do, do not drag a reservoir containing water to a drain in order to empty it. Tough as they are, reservoirs won’t stand up to the weight of water and the friction of a floor for long.
Reservoirs – Cleaning
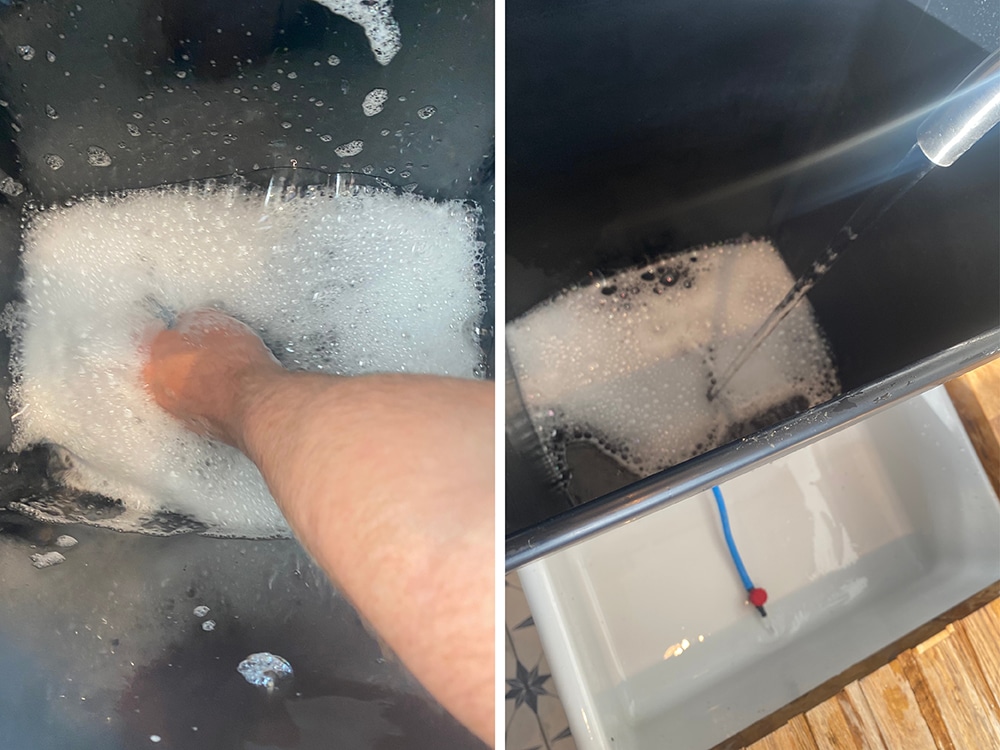
Once your reservoir is disconnected and empty you can set about cleaning it. If you’ve got an internal filter remove that along with any pipework that enters the reservoir itself. Warm soapy water combined with gentle use of a scouring pad should easily get any residue off. then simply rinse with plain cold water.
Filters
All AutoPot filters can be disassembled in order to clean the filter body and the filter material within. Ideally you should be giving your filter a clean on a weekly basis. If so, it shouldn’t need too much attention – again, warm soapy water and a rinse should suffice.
If you’ve got an inline filter you may want to consider replacing every few years. Our 9mm Golf Filter has a replaceable inner material available here.
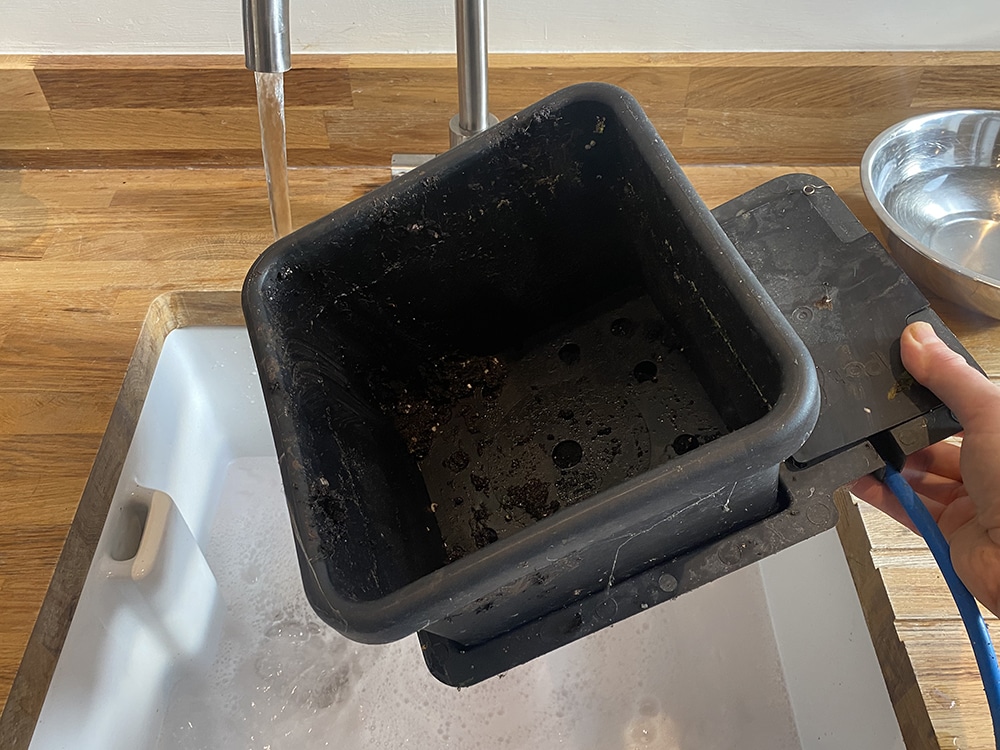
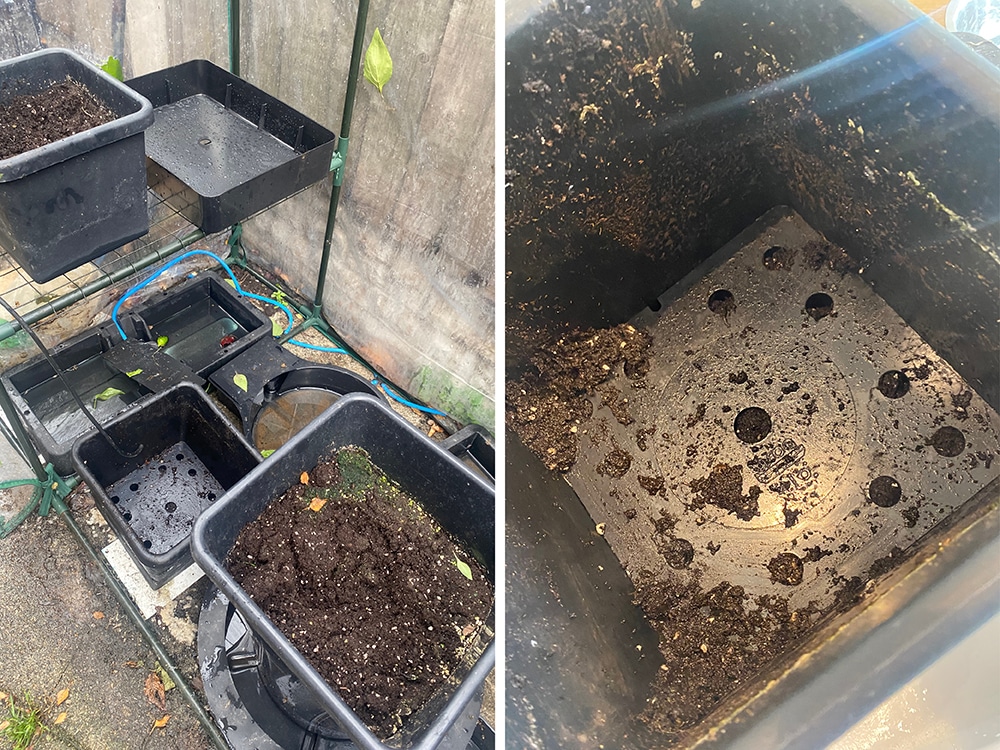
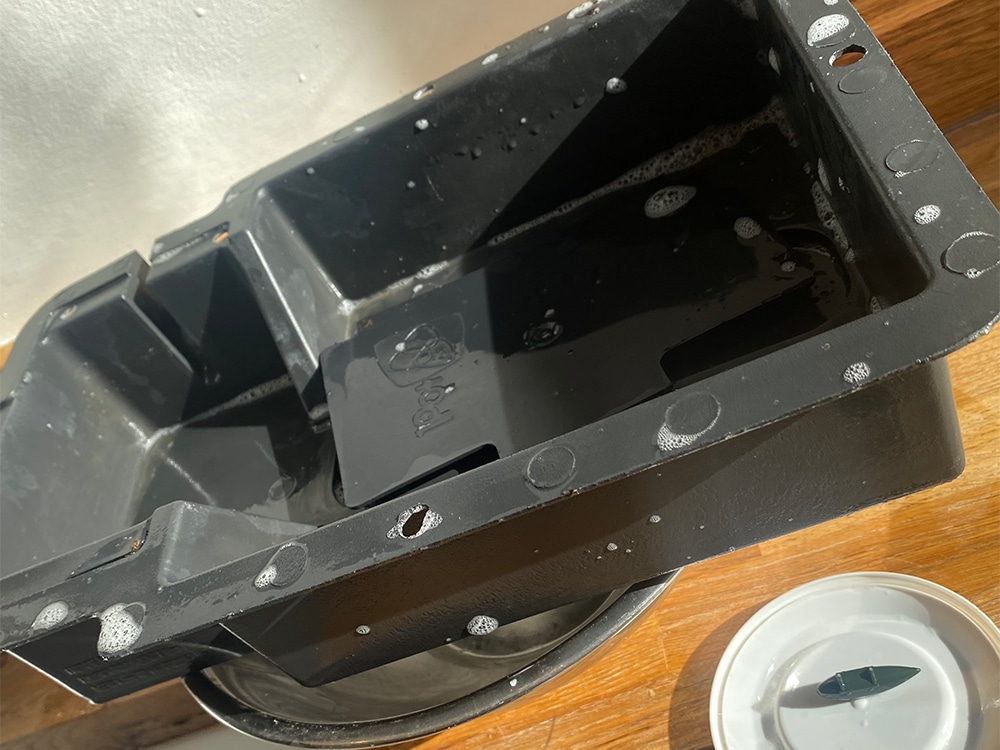
Pots And Trays
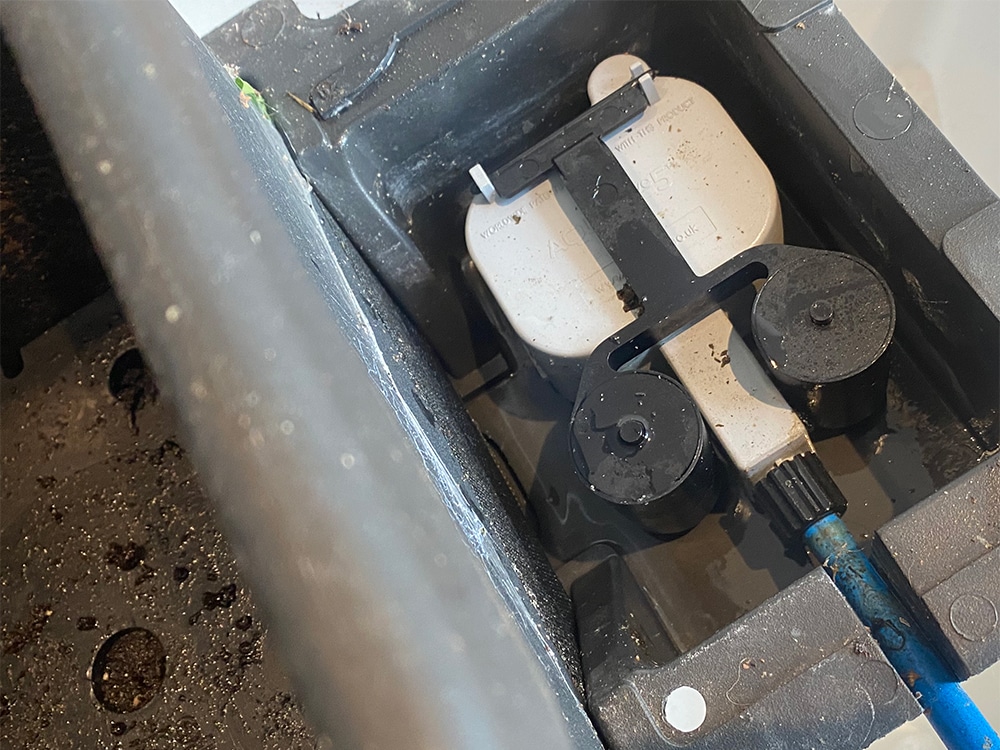
With the reservoir dealt with it’s time to move on to the system. If you haven’t done so already, remove the pots and empty any remaining water in the trays into a container. Then disconnect the pipes that lead to the trays where they join the main supply line.
Remove the AQUAvalves, any old root control from the trays, and draw out the pipework. Remove the grommets in the tray walls too – if you leave them in place they may harden, making setup difficult next time, especially if your trays are stored in a cold environment.
Once emptied out, the pots and trays need a nice wash with your faithful friend, warm soapy water, a little scourer, and a plain water rinse.
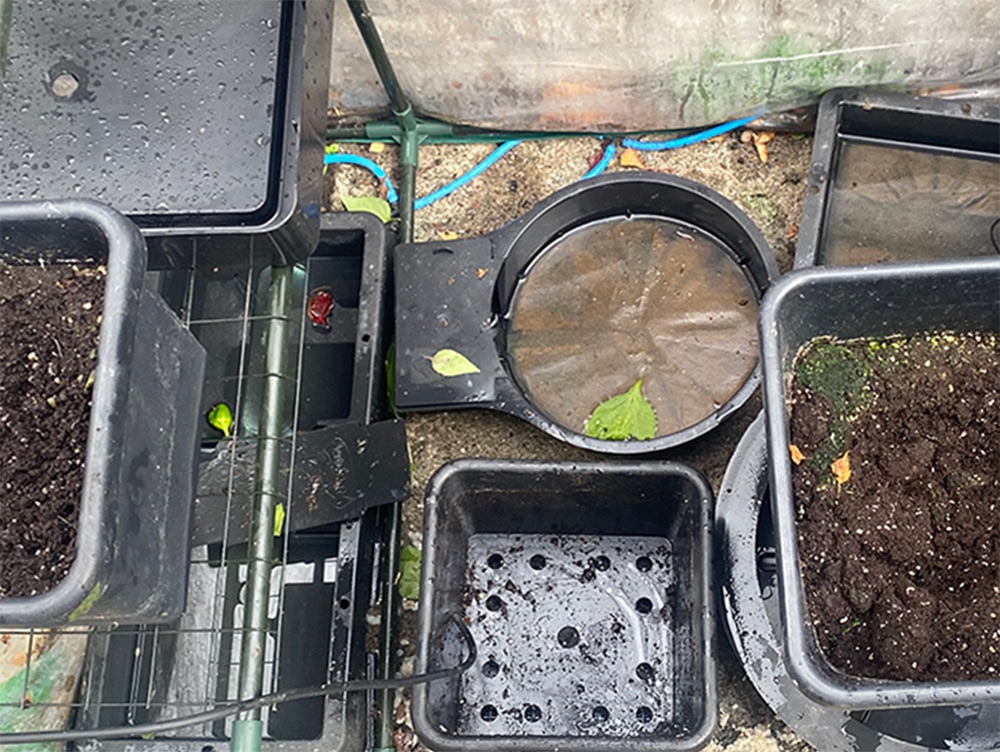
As you’ll have no doubt noticed, all this kit is neatly stackable for compact storage.
Fabric FlexiPots are best left to dry out after use, making it easier to brush out root debris. At this point you can wash them in peroxide to sterilise if you wish – either in a washing machine or dipped in a tub. Allow to dry naturally. Do not put FlexiPots in a tumble dryer
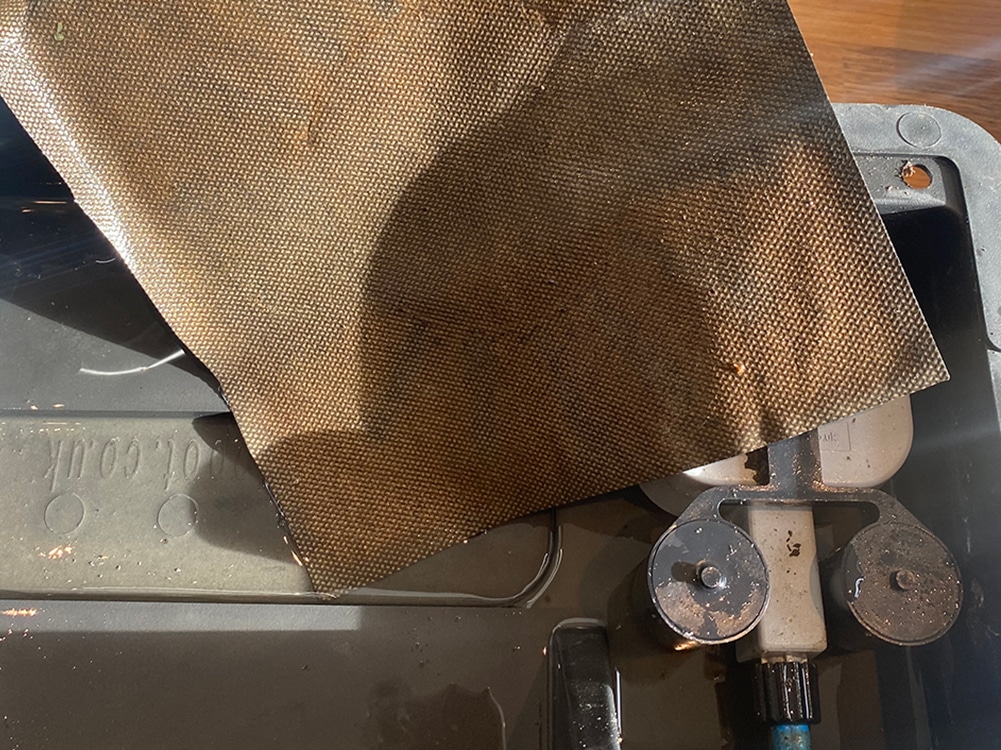
Root Control
Like as not, your root control will simply need replacing after a season in use. If you’re keen to reuse it then simply hang the sheets out to dry and brush off any debris. We wouldn’t recommend storing dried out (previously used) root control and attempting to use again after a number of months though. Inevitably, there’ll be some residue of moisture on the sheets that might harbour nasties.
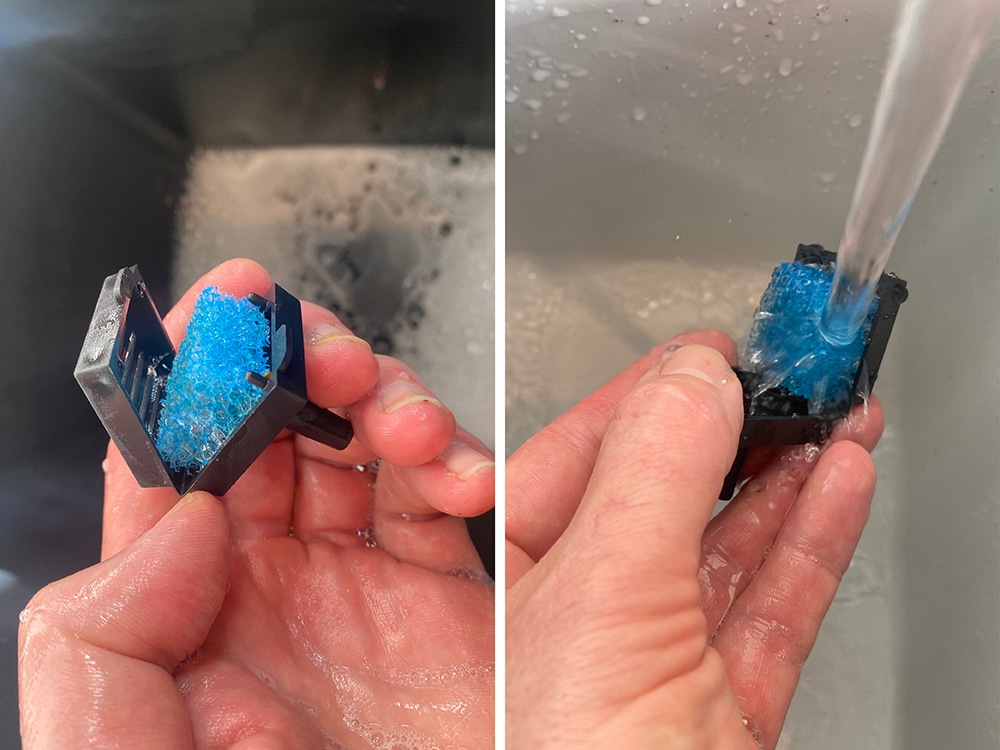
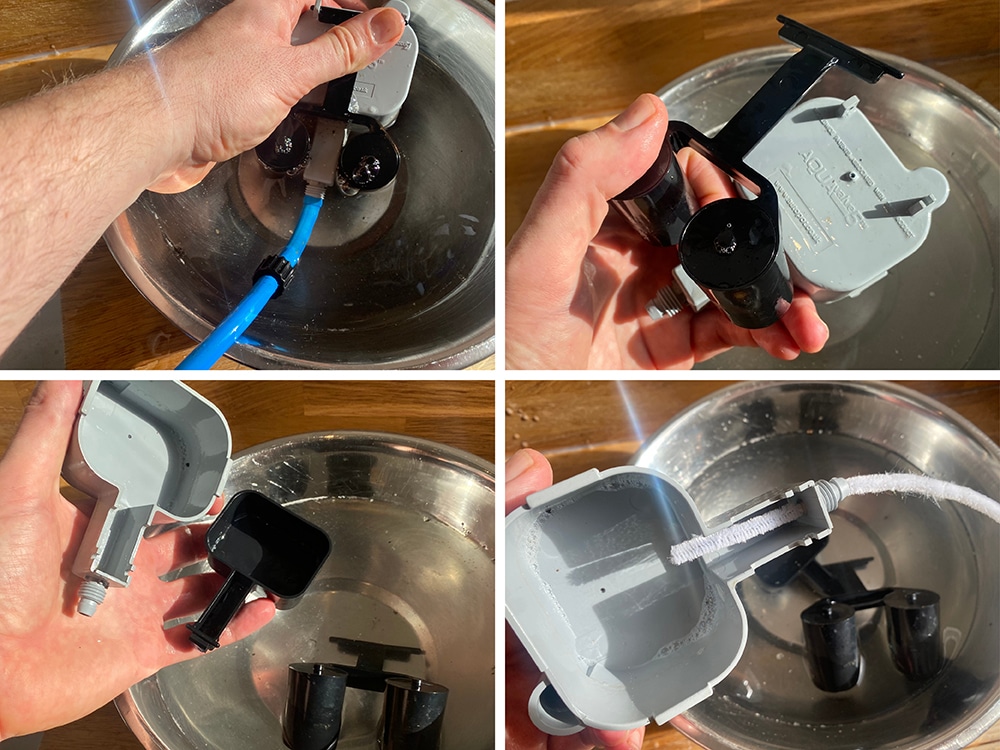
AQUAvalves – Cleaning
Time to deal with le grande fromage! Given that it a) controls the flow of water and nutrient solution and b) features the only moving parts in an AutoPot Watering System it’s fair to say that a clean, well maintained AQUAvalve is essential. That said, they’re a doddle to clean.
With the AQUAvalve Collar undone, you can remove the pipework from the AQUAvalve. To do this (without damaging the nozzle on the AQUAvalve) we strongly advise you immerse the pipe and the valve in hot water first. Then pull directly apart – avoid twisting / wiggling.
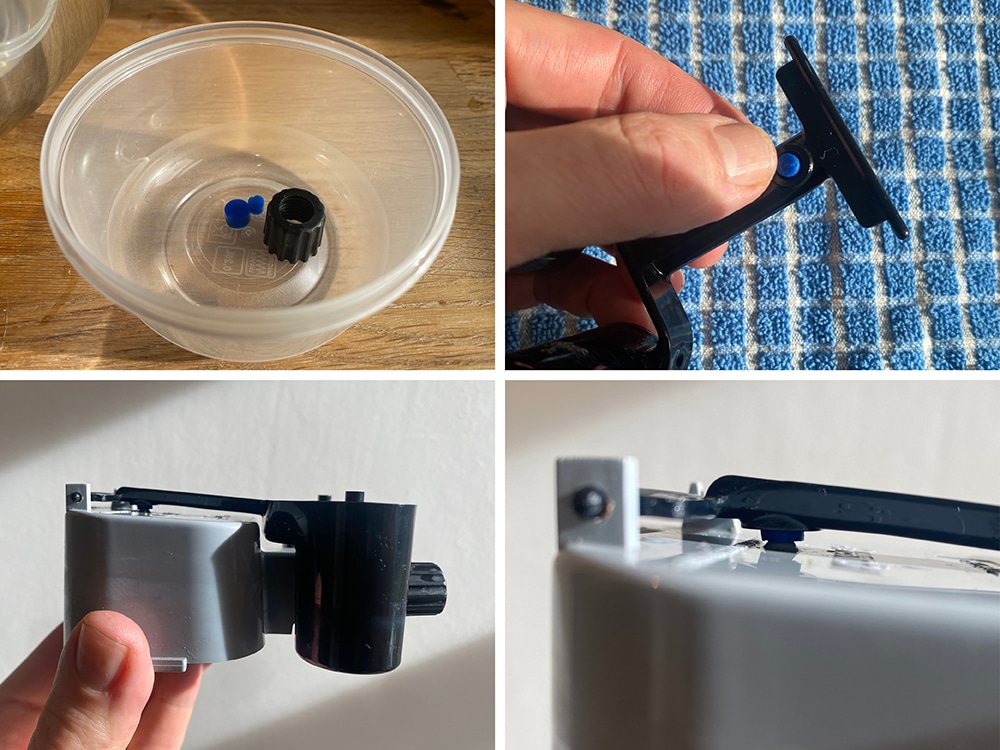
Onto the Floats. Held vertically, the Top Float will slide all the way across and out of it’s mount atop the Body. The Bottom Float then easily unclips from its pivot position inside. Before you start to clean these, get the Top and Bottom Silicones out and set safely aside. These are easily and inexpensively replaced if necessary, but there’s no sense in losing them on purpose.
The Floats and Body can then be scrubbed using a toothbrush or even placed in the dishwasher. Once clean and dry, blow through the AQUAvalve nozzle or use a pipe cleaner to remove any build up that has occurred. Nothing more forceful is required in cleaning the nozzle, do not even think about using a drill bit to clear anything stubborn. Doing so will potentially damage the AQUAvalve beyond repair.
AQUAvalves – Resetting
Putting your AQUAvalve back together correctly is important. You need to get the Silicones properly seated into their little sockets. Failing to do this can throw the whole action of the valve out. The Bottom Silicone goes in pretty straightforwardly. As long as it’s pushed right in you’ll be fine. The Top Silicone needs particular attention.
Hold the AQUAvalve5 at eye level so that you can see the Silicone fitted to the Top Float resting on the hole below it. The Silicone must create a tight seal when touching the hole. If it looks like it is not sitting parallel on the hole below, simply lift the Top Float and apply pressure to one side of the Silicone, drop the float and hold at eye level again. Repeat the procedure if necessary. The seal made by this Silicone is essential for the proper filling and draining of the trays.
Pipe and fittings
That just leaves the pipe and fittings. Separate these by immersing still-connected pipework and connectors in hot water and puling straight apart. Give them a wash in yet more warm soapy water and rinse. Again, you can call on a pipe cleaner to run through any fittings that look crusty.
If reconfiguring the layout of your system snip the pipe ends where they were previously attached to connectors before reconnecting. This ensures a snug fit next time around.
In Conclusion
Flowing faster, lasting longer, and providing a healthier environment for your plants, a clean system can be brilliantly rewarding. Best of all, with AutoPot it really doesn’t take much to buff things up. Go on, get stuck in, your plants will love you for it.