
A companion piece! This month we’re taking a two-pronged approach to getting the best from your water when growing with AutoPot.
Elsewhere you can find our guide to perfecting your water supply in terms of positioning, chemical, and biological balances. All great stuff for ensuring you maximise the performance of your system, the potential of your inputs, and the harvests from your plants.
Here we’re going to plumb murkier waters. Admittedly reservoir and pipework maintenance is less glamorous than the hocus-pocus-diddling-with-the-cauldron-wizardy-mad-professor-tweaks that bring the big, visible changes to your plants. No, this here is the workaday stuff which is arguably more important, in that it allows you to work your magic in the first place.
Fancy skipping ahead? Take your pick of the tips using the directory below:

oh, yeah, and rather a lot of tomatoes
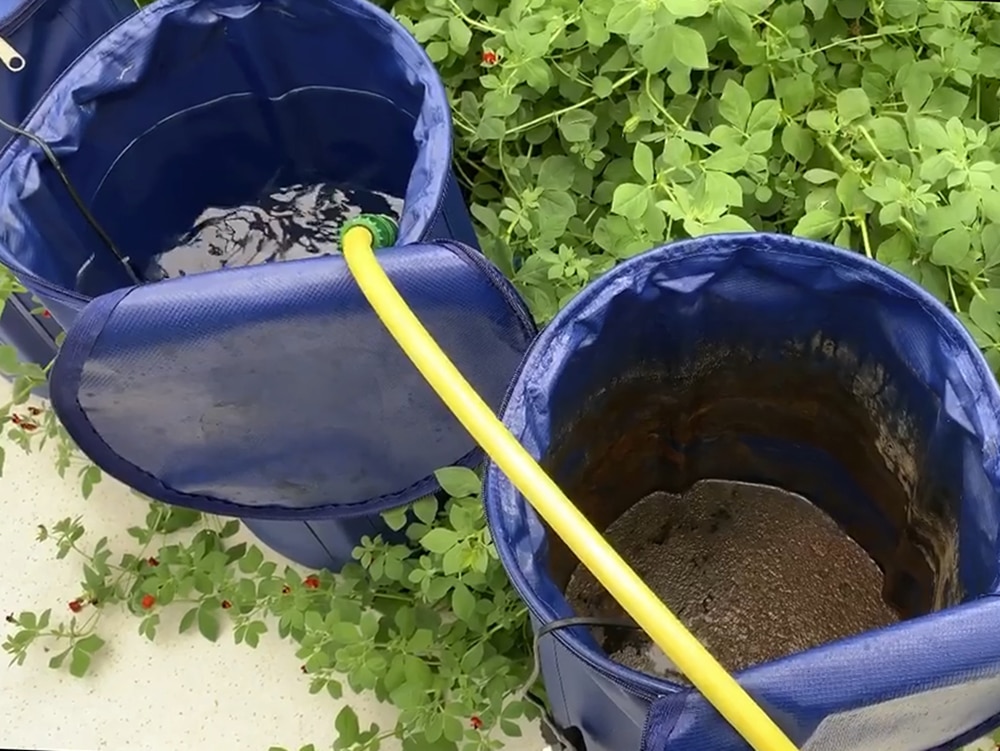
Cleaning House
You wouldn’t drink from a dirty cup, so why should your plants? ‘La-de-dah!’ You may think, but cleaning your reservoir isn’t just a matter of etiquette.
Getting in there for a quick scrub and a rinse helps prevent the build-up of depleted nutrients and water. It promotes the free flow of water and nutrient solution through your system and stops nuisance smells from getting a foothold. Anyone who’s fed organic fertiliser in solution via a watering system will know how that unique ‘bouquet’ can lean towards the honking side of aromatic.
Because cleaning your reservoir is messy, internal work it can seem laborious. As with most things though, the more you clean it the less effort it requires.
If you’re using it continuously throughout the growing season then you should clean your reservoir using the directions below before every third fill. Maybe make that every other fill if you’re using organics. If you are only using your reservoir while away on holiday then just give it a treat and clean it when you get back.
To Clean:
- Let your reservoir run low – ideally to just above the level of the filter
- Turn off the reservoir tap, disconnect and empty the reservoir
- Clean out the reservoir with plain water and a cloth, then rinse
- Refill with pH balanced plain water
- Reconnect and run with pH balanced plain water for 12/24hrs before adding feed again

Capacity
We’re putting reservoir capacity on the ‘maintenance’ side of things inasmuch as the capacity you choose will dictate the frequency with which you have to ‘maintain’ refills. Having sufficient supply to serve your system is essential. You do not want your reservoir to run dry. Having said that, your capacity will always depend somewhat upon how often you are able / willing to refill.
As a rough guide:
AutoPot Watering Systems with 8.5L-15L pots
1-8 pots – min reservoir capacity 47 L
9-15 pots – min reservoir capacity 100 L
16-24 pots – min reservoir capacity 225 L
25-79 pots – min reservoir capacity 400 L
61-100 pots – min reservoir capacity 750 L
AutoPot Watering Systems with 25L-50L pots
1-4 pots – min reservoir capacity 47 L
5-11 pots – min reservoir capacity 100 L
12-23 pots – min reservoir capacity 225 L
24-60 pots – min reservoir capacity 400 L
61-100 pots – min reservoir capacity 750 L
Trying to give an idea of how often you’ll need to refill any given system is virtually impossible. Too many external factors dictate water use on the part of the plants. But to give you an idea, here’s an approximate refill rate for our most commonly used setup – the 4Pot System (4x 15L pots).
A 4Pot System is supplied with a 47L reservoir. In the early part of the season (when the plants are establishing and growing) the reservoir may last up to 3-4 weeks, depending on the climatic conditions and the types of plants being grown. As the season progresses the maturing plants will begin to consume more water and liquid fertiliser. In the height of summer growing tomatoes with large amounts of fruit the reservoir will last between 7-14 days.
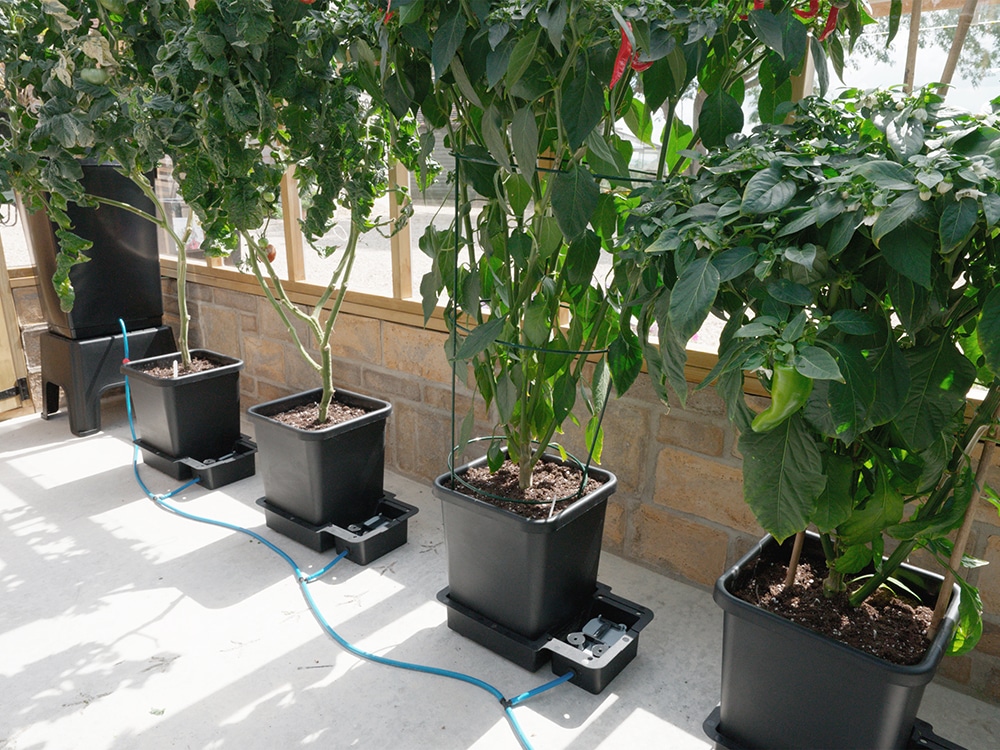
the 47L reservoir in as little as a week’s time
Tip-Top Top-Ups
No matter how big your reservoir is you’ll have to top it up at some point. Yes, all good things must come to an end. So it is with your reservoir fill levels. And guess what? There’s a few things you can do in the name of tip-top top-ups:
- ALWAYS turn your reservoir tap off first
- Then add your water
- Wait for 30 – 60 minutes
- Turn your reservoir tap back on
Doing it this way prevents any agitated particles in the reservoir from being pulled through the pipework.
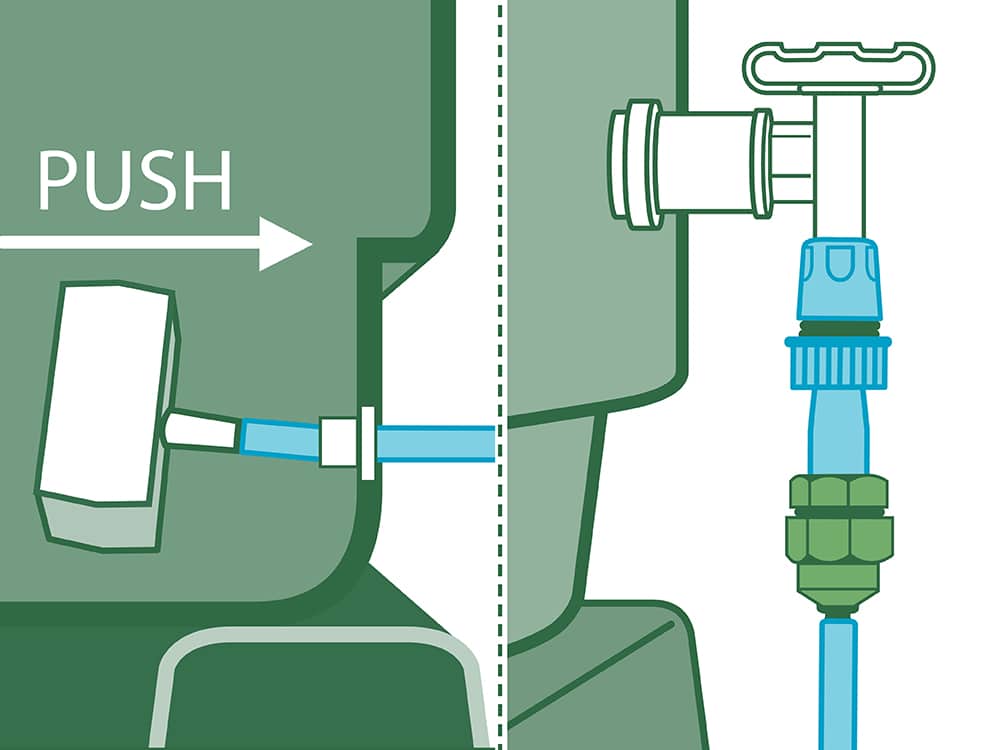
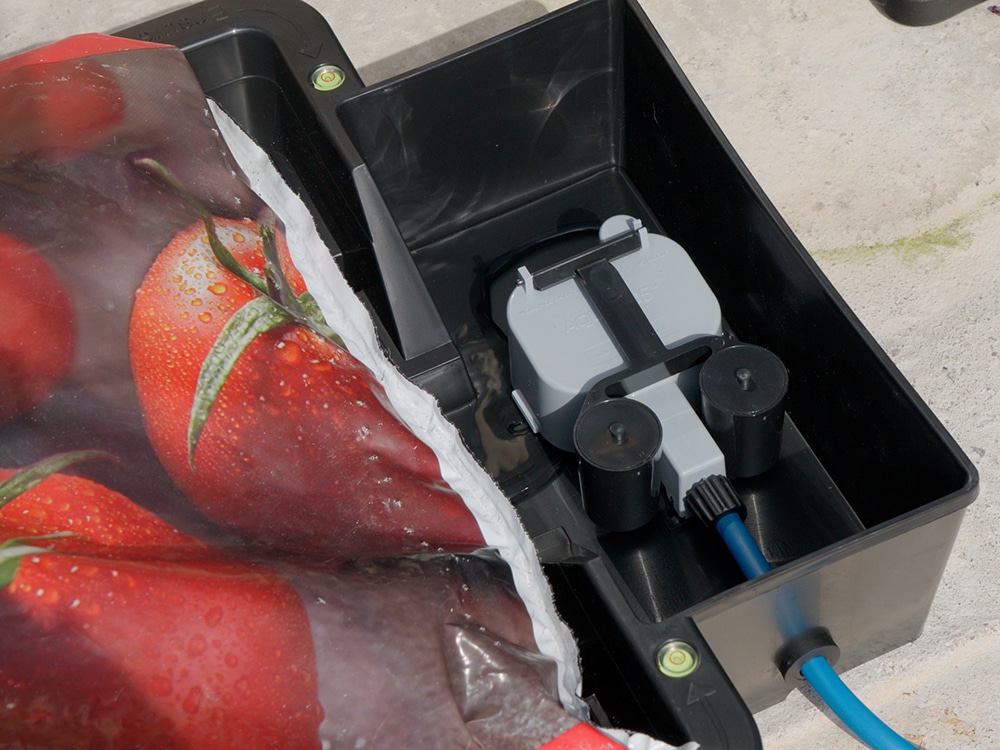
Above Right: Using a 16-9mm click-fit filter on an external reservoir tap
Filtration
It’s natural that debris, fertiliser sediment, and particles in your water supply will accumulate in your reservoir. The key is not to let that sludge get out into your pipework. The blockages in pipework and fittings that such rubbish can cause are rarely catastrophic. But they might slow down the flow of water and feeds. And, given that the systems are designed to run unattended, sludge could quickly accumulate whilst unobserved. The incredibly simple means of dealing with this problem is a filter.
No matter what your system size is, you should have a filter fitted. We produce them for 6mm, 9mm, and 16mm pipework including models that reduce down in gauge, plus some very affordable ProFilters that really go to town on anything that threatens your flow.
Once you’ve got a filter don’t forget to clean it. Once a week is good practice, especially if growing with organic nutrients or in poor water areas.
To Clean:
- Switch off your reservoir and remove your filter
- Open/unscrew the filter case, remove the filter sponge
- Clean the filter using warm soapy water – rinse with plain water
- Reassemble the filter, reattach to pipework, reconnect system
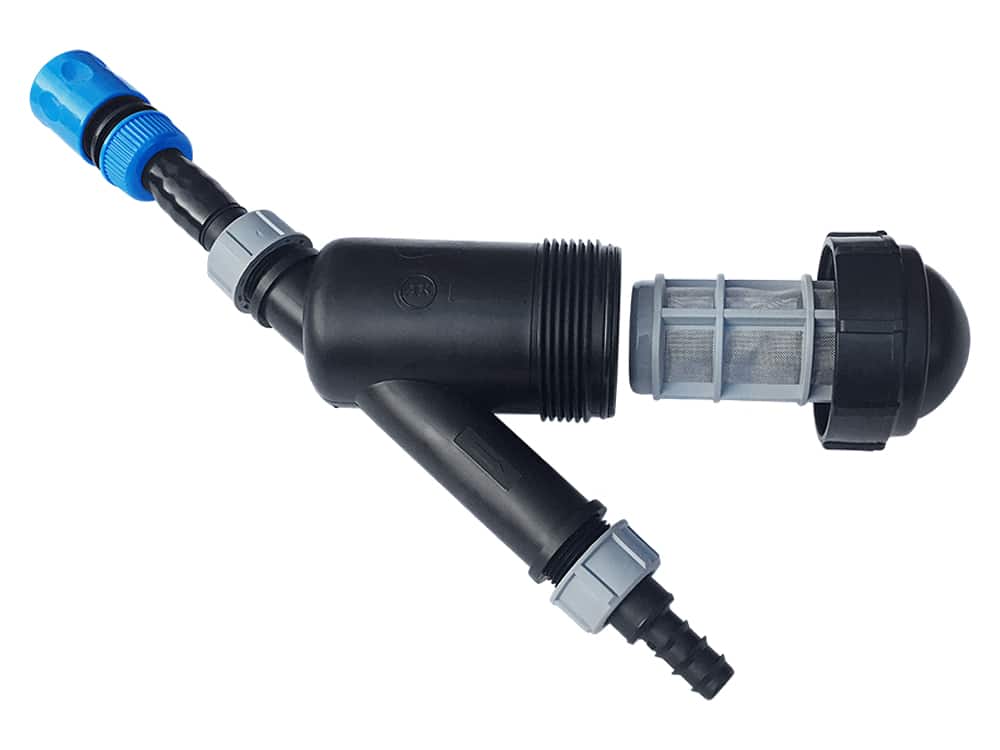
filtration fitting for use with AutoPot Watering Systems
That Bleeding System
By simply adding a 9mm or 16mm tap to the end of one of your pipe runs you can bleed off a little water and nutrient solution once a week. Why do this? Because it’ll draw through sediment that can otherwise obstruct your pipes.
If you are in a hard water area it may be necessary to bleed your system more than once a week. Hard water reacts more with nutrients creating sediments that can build up.
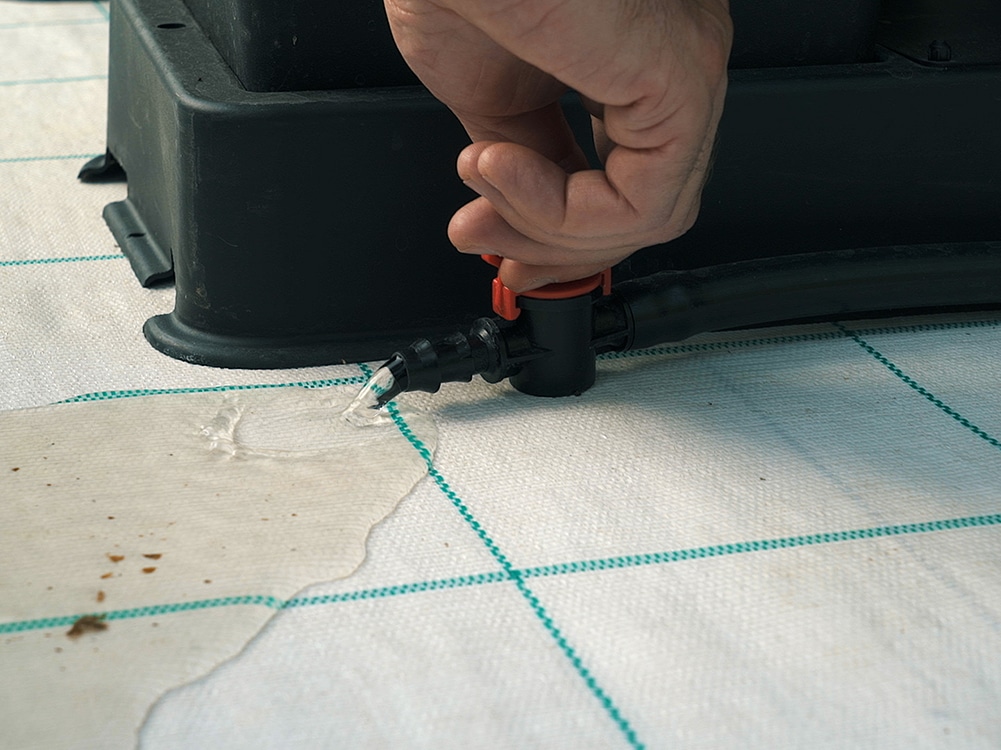
once a week will help draw out sediment from your pipework
Survival Of The Fittings
We make our fittings tough, partly in order that they can easily be reused. Needless to say these fittings will also benefit from a good spritz between uses or, at the very least, at the end of your growing season. Time to break out the BLOCK CAPS!
ALWAYS clean your fittings and pipework at the end of the growing season NEVER leave until the following season. Any sediment left in the pipework will dry over time and turn into sludge the following season when the system is set up and turned back on.
Ideally, pipework and fittings should be flushed or can be soaked in warm water and vinegar overnight and then flushed with plain water. Pour hot water across your pipe and fittings to ease separation.
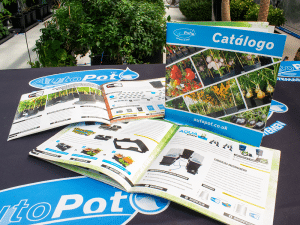
Takeaways
Fancy a guide to cherish forever covering these and more essential AutoPot growing tips? Visit the Growers Guides at autopot.co.uk and download our slick and accessible pdf info sheets pronto!